ICEINSPACE

|
Seperating a Meade ETX105 OTA from its Base
Submitted: Wednesday, 7th April 2010 by Karl van Louwersen
BackgroundOnly once was I able to do a successful south polar alignment out of perhaps 50 or so attempts. Each time I tried to do a 3 star alignment, all would go well until i got the message “alignment failed”. Very frustrating. After leaving it in the cupboard for several years as punishment I decided to mount it on an HEQ5 mount. Another problem that I had with the unit was locking the clutches. They would still slip even though I had tightened up the locking nuts as tight as I dared. DetailsTools required:
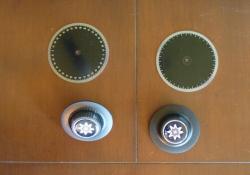
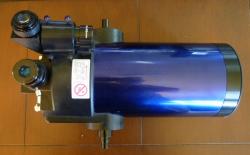
Step 1Remove the knobs on each side of the OTA. Step 2Turn telescope up-side down and :
The photo below right shows the unit with one screw still in place.
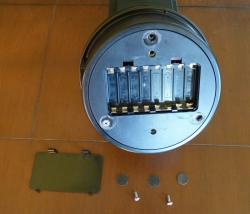
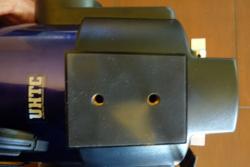
Step 3Carefully pull the cover off. There are two very thin relatively short wires between the battery pack and the circuit boards inside. Inside there is a cut-out on one side of the metal base – at about 11 0’clock in picture on the right below. The kitchen table is visible through the hole where the screw was! Slowly rotate this until one of the six screws (there are three for each fork) are revealed. Remove all six screws completely from the unit.
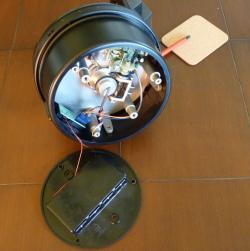
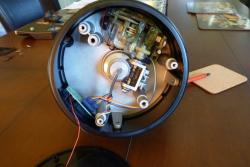
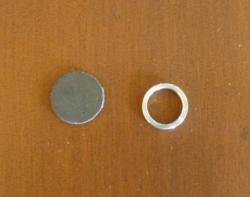
Step 4The forks can now be separated base and then the OTA can separated from the forks. When you do this, a small “spacer” drops off the shaft on the drive side (see image below).
The OTA is now ready for use on the new mount.
Article by Karl van Louwersen (kvl). Discuss this article on the IceInSpace Forum.
 |
|
|||||||||||||||||||||||||||||||||||||||||