ICEINSPACE

|
Dave Gee's SkyShed Observatory
Submitted: Wednesday, 7th July 2010 by Dave Gault
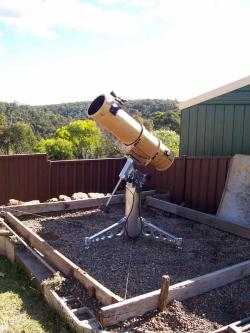
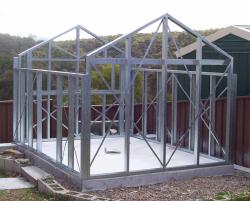
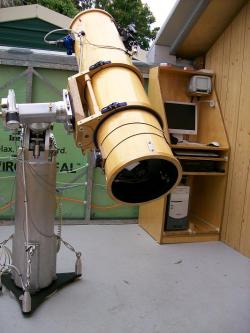
Here are some pictures that show the construction of my skyshed that houses my 10” GEM mounted, Bartels GOTO controlled Newtonian. The construction was completed in 2005 and is used to observe lunar and asteroid occultation events. I post these photos in the hope that they may be of interest to other DIY observatory builders. The size of the Skyshed was dictated by the local council that stated any construction over 10m2 had to have building approval, and not wishing to go through with that brue-har-har, it is slightly under that mark. The construction was to be of non-flammable material due to the nearby bush fire risk.
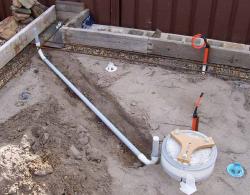
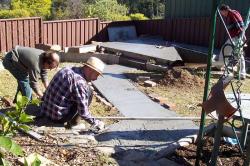
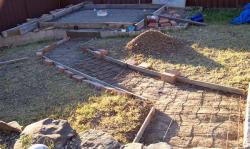
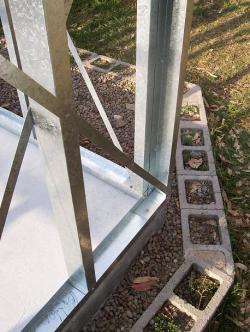
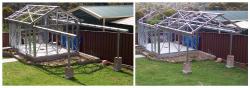
Shown above are the slab formwork and reinforcing steel, as well as under-slab data and power conduits. It was nice to have a heap of friends over to help with the pour and it was even better to return the favour and help them with construction of their skyshed. All steel construction means 0.8mm thick framework.
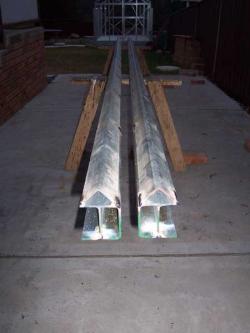
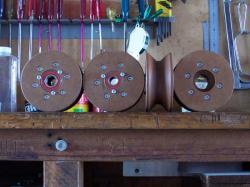
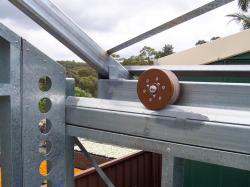
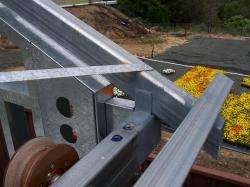
The rails are made up from 2 x C-sections and an Angle welded together = 100% overkill! Note the outer C-section has the open side to the outer. This allows for anti-lift blocks to run in the open section that will prevent the roof from blowing off. The roof rides on 4 x wheels made up from 3 thicknesses of water-proof MDF that was glued and screwed together, then machined to match the angle and bored to take some bearings.
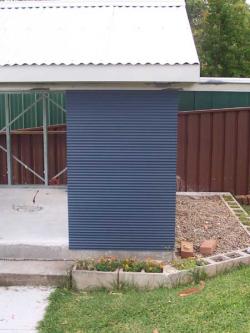
The roof cladding is Lysaght Orb corrugated iron and the walls are mini-Orb cladding.
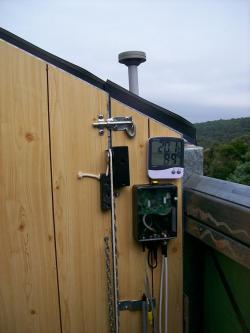
The west wall is hinged and can be lowered to allow the scope to see stars and the moon setting. 240v power and CAT5 cable complete the connection requirements.
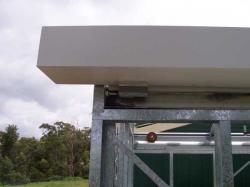
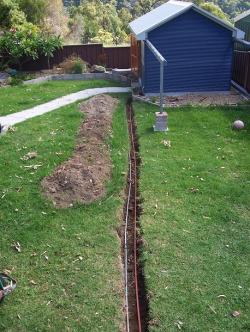
Timing equipment used is the KIWI-OSD that gets timing signals from the GPS. Show here is the GPS unit in a waterproof radome.
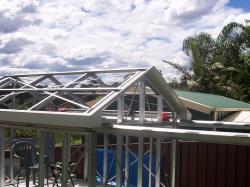
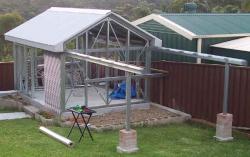
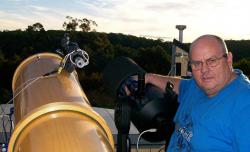
Finally, some pictures of the scope in its home.
 |
|
||||||||||||||||||||||||||||||||||||||||||||||||||||||||||||||||||||||||||||||||||||||||||||||||||||||||||||||||||||||||||||||||||||||||||||